Step-by-Step Guide: How to Build and Submit a Sitemap
Creating and submitting a sitemap is one of the most essential technical SEO tasks that can help improve your website’s visibility in search engines like Google and Bing. Whether you manage a small blog, a growing business site, or a large e-commerce platform, having a sitemap ensures your content is discoverable, properly indexed, and ranked.
In this guide, we’ll cover:
- What a sitemap is
- Why it matters for SEO
- How to create a sitemap (manually or automatically)
- How to submit it to Google and Bing
- Best practices for maintaining an effective sitemap
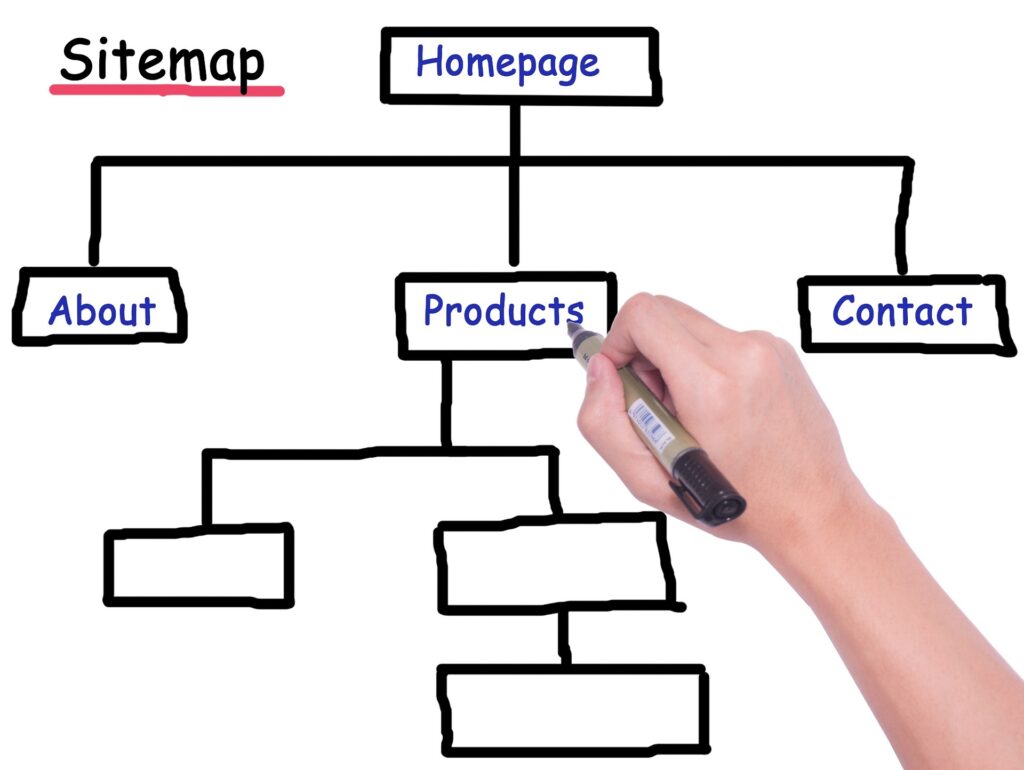
What Is a Sitemap?
A sitemap is a file—usually in XML format—that lists all the key pages on your website you want search engines to index. It acts as a roadmap for search engine crawlers, helping them understand the structure and content of your site more efficiently.
While having a sitemap doesn’t guarantee higher rankings, it helps search engines find and crawl your site faster, especially for:
- New websites with low authority
- Large websites with many pages
- Sites with poor internal linking
- Frequently updated content (e.g., blogs, news sites)
Why Is a Sitemap Important?
Here are some of the key benefits of having a sitemap:
- Improves crawling and indexing
Search engines can easily find and prioritize your content, especially if internal linking is weak. - Speeds up new content discovery
Pages submitted via a sitemap may be indexed more quickly. - Provides metadata
Sitemaps can include details like update frequency, last modified date, and priority of pages. - Helps with rich media and structured content
You can include image, video, and news sitemaps for better indexing in specialized search results.
How to Create a Sitemap
You can create a sitemap in several ways depending on your website type, size, and platform.
1. Using a CMS Plugin (WordPress)
If you use WordPress, sitemap creation is incredibly easy with SEO plugins:
a) Yoast SEO Plugin
- Automatically generates a sitemap at:
yourdomain.com/sitemap_index.xml - Keeps the sitemap updated when you add new content.
- You can enable/disable certain content types from being included.
b) Rank Math SEO
- Another SEO plugin that auto-generates sitemaps.
- Provides advanced control over what content appears in the sitemap.
Benefits: No technical skills required. Fully automated and always up-to-date.
2. Using Online Sitemap Generators
For non-CMS websites or static HTML sites, use free online tools like:
Steps:
- Enter your website URL.
- Configure crawl depth or exclusions.
- Download the XML file.
- Upload it to your site’s root directory (
https://yourdomain.com/sitemap.xml).
3. Manual Sitemap Creation (Advanced)
You can hand-code a sitemap using XML if you have fewer pages or want full control. Here’s an example of a basic sitemap:
xmlCopyEdit<?xml version="1.0" encoding="UTF-8"?>
<urlset xmlns="http://www.sitemaps.org/schemas/sitemap/0.9">
  <url>
    <loc>https://yourdomain.com/</loc>
    <lastmod>2025-04-29</lastmod>
    <changefreq>monthly</changefreq>
    <priority>1.0</priority>
  </url>
</urlset>
Tips:
- Make sure the XML is properly formatted.
- Use tools like XML Validator to check for errors.
Where to Place the Sitemap File
Once you create your sitemap, it should be placed in the root directory of your website:
arduinoCopyEdithttps://yourdomain.com/sitemap.xml
Also, add the sitemap’s URL in your robots.txt file to help search engines find it automatically:
arduinoCopyEditSitemap: https://yourdomain.com/sitemap.xml
How to Submit a Sitemap
After your sitemap is created and accessible online, the next step is submitting it to major search engines.
Submitting Your Sitemap to Google
Google is the primary search engine for most sites. Submitting your sitemap to Google Search Console ensures faster discovery and gives insights into indexing performance.
Steps:
- Go to Google Search Console
- Choose your website property.
- In the left sidebar, click on “Sitemaps” under the Index section.
- Enter your sitemap URL (e.g.,
sitemap.xml) in the Add a new sitemap field. - Click Submit.
Once submitted, Google will crawl the sitemap and notify you of any errors, warnings, or exclusions.
Submitting Your Sitemap to Bing
Bing also plays a valuable role in search visibility and should not be overlooked.
Steps:
- Go to Bing Webmaster Tools
- Add and verify your website if you haven’t already.
- Navigate to the Sitemaps section.
- Enter your sitemap URL and click Submit.
Bing also supports sitemap pinging by visiting:
bashCopyEdithttps://www.bing.com/ping?sitemap=https://yourdomain.com/sitemap.xml
Best Practices for Sitemaps
To ensure your sitemap remains useful and effective, follow these best practices:
- ✅ Keep it updated: Whenever new content is added or deleted, update your sitemap.
- ✅ Limit size: Each sitemap should contain no more than 50,000 URLs or be no larger than 50MB (uncompressed). Use sitemap indexes if needed.
- ✅ Submit clean URLs: Only include canonical URLs that are indexable.
- ✅ Avoid duplicates: Eliminate pages that redirect, are blocked by robots.txt, or have “noindex” tags.
- ✅ Use priority and changefreq wisely: While not required, providing accurate values can help crawlers prioritize.
- ✅ Test your sitemap: Use Google Search Console’s testing tool to catch formatting errors.
- ✅ Use HTTPS: Always submit secure versions of your URLs if available.
- ✅ Add structured data: Combine sitemaps with structured data for improved crawlability and search presentation.
Troubleshooting Common Sitemap Issues
- Submitted URL not in index: The page may be blocked, duplicate, or low quality.
- Sitemap couldn’t be read: Check your XML formatting and encoding.
- 403/404 errors: Ensure the sitemap file is publicly accessible with correct permissions.
- Blocked by robots.txt: Verify your robots.txt isn’t unintentionally blocking sitemap URLs.
Conclusion
A sitemap is more than just a list of links—it’s a powerful SEO tool that helps search engines crawl and index your website efficiently. Creating and submitting a sitemap is easy, especially with CMS plugins or online tools, and it ensures your most valuable pages are seen and ranked.
By regularly updating your sitemap and following best practices, you’ll improve not only your indexing rates but also the chances of appearing in top search results.
If you haven’t submitted your sitemap yet, now is the perfect time to do it. It’s one of the simplest yet most impactful steps you can take to boost your SEO.
✅ Sitemap Creation & Submission Checklist
🔧 Before You Create a Sitemap
- Decide the type of sitemap: full XML, image, video, or news (optional).
- Choose a method (WordPress plugin, online generator, manual coding).
- Ensure all URLs you want indexed are crawlable and clean.
- Remove noindex or duplicate pages from inclusion.
- Finalize your site’s URL structure (HTTPS, canonical URLs, etc.).
🛠️ Creating the Sitemap
- Use plugins like Yoast SEO or Rank Math if on WordPress.
- Use XML-sitemaps.com or Screaming Frog for non-CMS sites.
- If creating manually, follow proper XML format.
- Validate XML using an online XML validator.
🚀 Placing & Submitting the Sitemap
- Upload sitemap to root:
https://yourdomain.com/sitemap.xml - Add the sitemap to your
robots.txt:Sitemap: https://yourdomain.com/sitemap.xml - Submit the sitemap to Google Search Console.
- Submit it to Bing Webmaster Tools.
- Optional: Ping Google or Bing using ping URL.
🔍 Post-Submission Checks
- Monitor crawl stats in Search Console.
- Fix any crawl or index errors.
- Update sitemap after major content changes.
- Re-submit updated sitemaps if needed.
🧾 Example Sitemap Template (XML)
Here’s a clean example you can edit and use:
xmlCopyEdit<?xml version="1.0" encoding="UTF-8"?>
<urlset xmlns="http://www.sitemaps.org/schemas/sitemap/0.9">
  <url>
    <loc>https://yourdomain.com/</loc>
    <lastmod>2025-04-29</lastmod>
    <changefreq>monthly</changefreq>
    <priority>1.0</priority>
  </url>
  <url>
    <loc>https://yourdomain.com/about/</loc>
    <lastmod>2025-04-20</lastmod>
    <changefreq>yearly</changefreq>
    <priority>0.5</priority>
  </url>
</urlset>
Replace
yourdomain.comwith your actual domain and update dates accordingly.